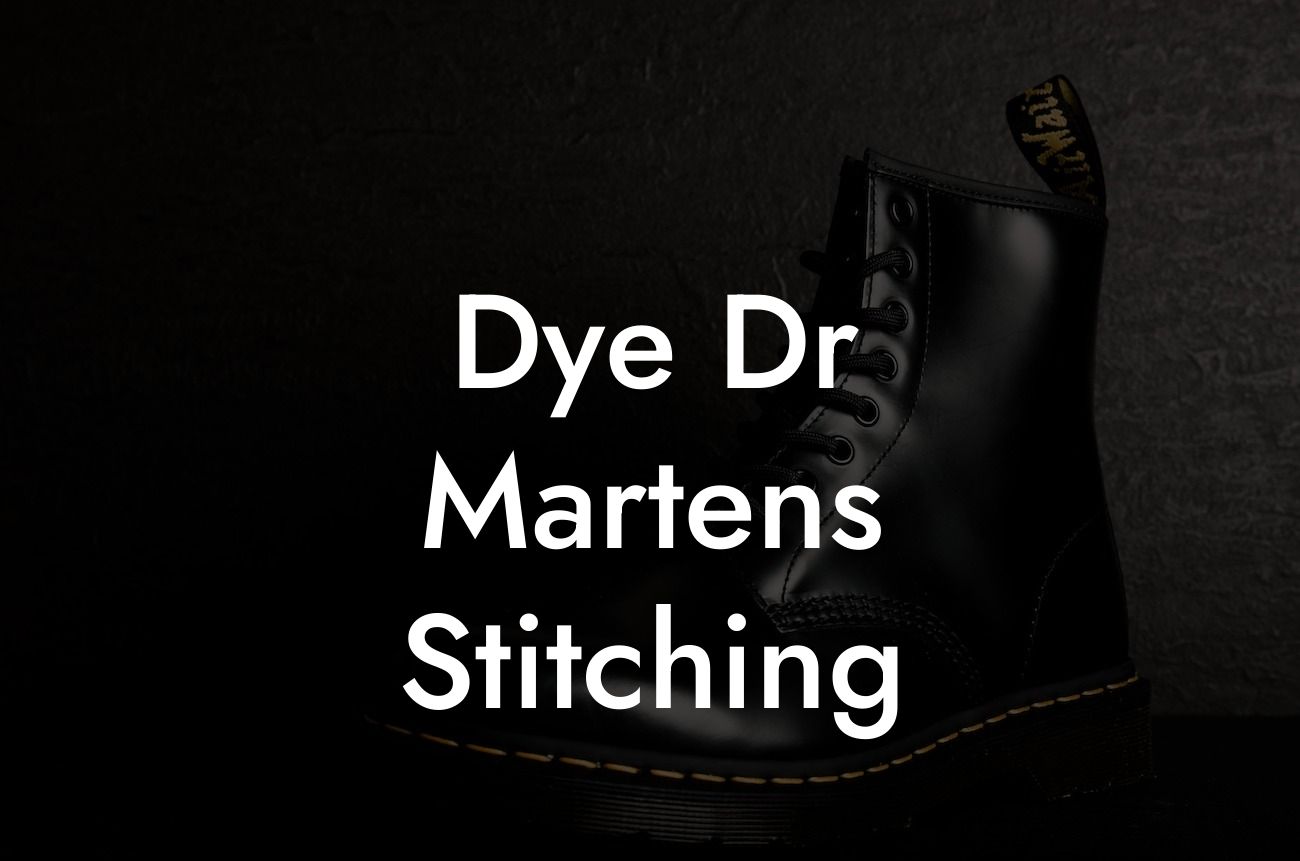
Dr. Martens shoes are known for their iconic design and durability. While the classic black or neutral colors may appeal to some, many shoe enthusiasts crave a unique and personalized look. One way to achieve this is by dyeing the stitching of your Dr. Martens. In this guide, Break Me In Daddy will teach you how to dye Dr. Martens stitching using step-by-step instructions and provide you with realistic examples to inspire your creativity. Get ready to give your beloved shoes a fresh and vibrant update!
Feet in ridiculous pain and you're slowly loosing the will to live? Try Break Me In Daddy, the easiest way to break in your new Doc Martens without making your feet look like grated cheese. Lactose, cute toes. Find out more →
Dyeing the stitching of your Dr. Martens can completely transform their appearance, allowing you to create a custom look that reflects your individual style. Follow these steps to achieve great results:
1. Prepare your materials
- Dye color of your choice (make sure it is suitable for use on leather)
- A small paintbrush or applicator
- Leather conditioner (optional)
- Protective gloves
- Old newspapers or plastic sheets to protect your workspace
2. Clean and prep your shoes
Before beginning the dyeing process, it's crucial to clean your shoes thoroughly. Use a damp cloth or sponge to remove any dirt or debris from the surface. Let them dry completely before moving forward.
3. Mask areas you don't want to dye
To prevent accidental dyeing, cover any areas you want to remain untouched. Use painter's tape or masking tape to carefully mask off the soles, laces, and any other parts you want to keep in their original color.
4. Apply the dye
Dip your paintbrush or applicator into the dye and start applying it evenly along the stitching lines of your shoes. Take your time and be careful not to overflow onto the surrounding areas. Allow the dye to penetrate the stitching, ensuring full coverage.
5. Let it dry
After you've finished applying the dye, allow it to dry completely. Follow the manufacturer's instructions for drying times. Keep in mind that darker colors may take longer to dry.
6. Apply a second coat (optional)
If you desire a more intense or vibrant look, consider applying a second coat of dye. Allow it to dry once again.
Dye Dr Martens Stitching Example
For a punk-inspired look, imagine dyeing the stitching of your classic black Dr. Martens boots with vibrant red dye. The bold contrast between the black leather and the eye-catching red stitching would instantly elevate your style and make a bold statement wherever you go.
Congratulations! You've learned how to dye the stitching of your Dr. Martens shoes. Experiment with different colors and designs to create a look that best represents your personality. Remember to protect and maintain your newly dyed shoes by regularly conditioning the leather. Share your customized Dr. Martens with us on social media and don't forget to explore other guides and tips on Break Me In Daddy for more exciting shoe-related content!


