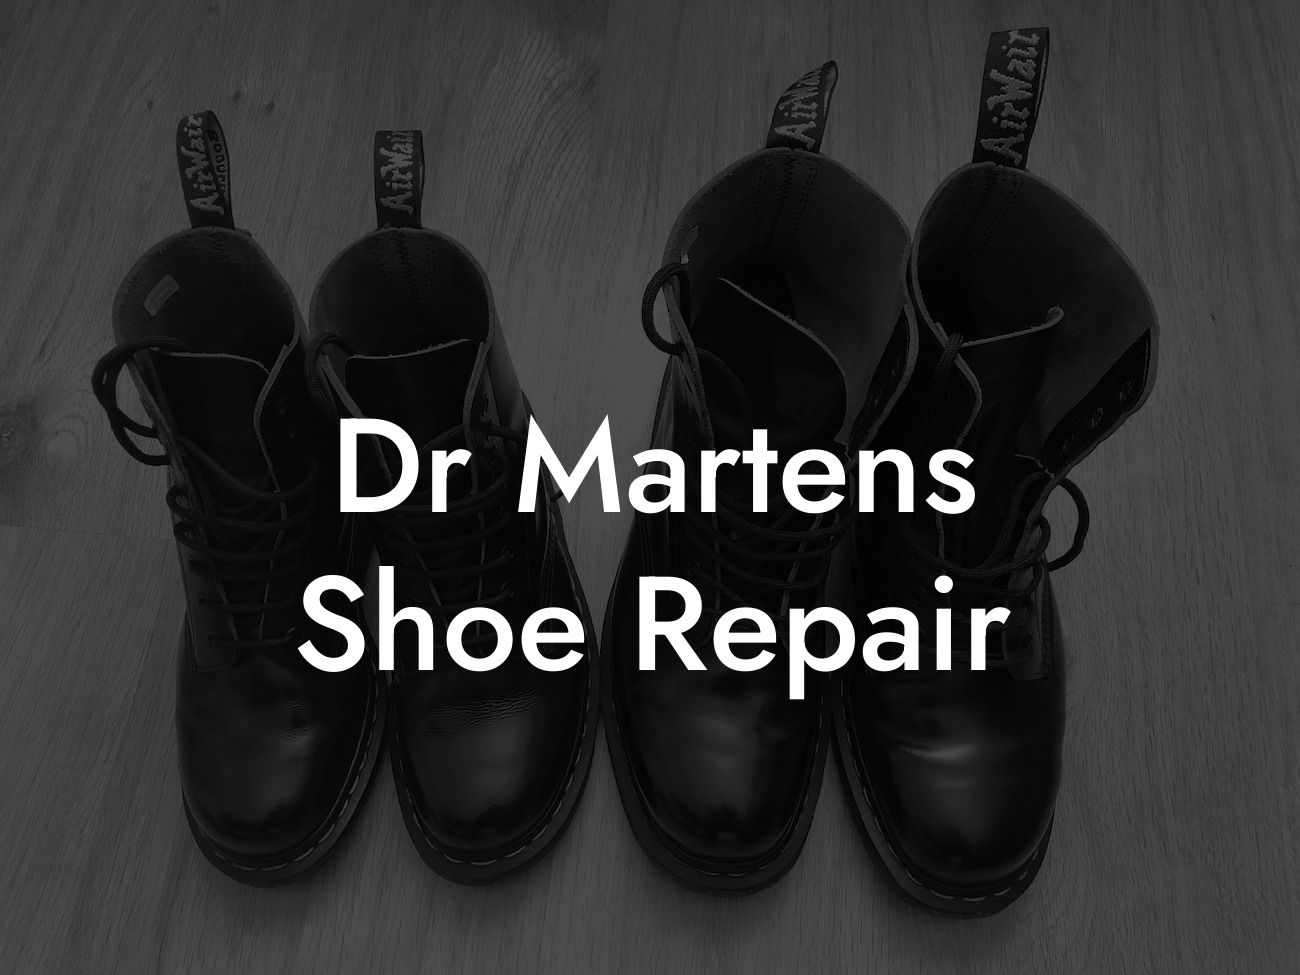
Dr. Martens shoes are iconic and beloved by many for their timeless style and durability. However, like any well-worn pair of shoes, they can sometimes need a little TLC to keep them in top condition. Whether it's a scuff, a loose sole, or a worn-out lace, learning how to repair your Dr. Martens is a valuable skill that will save you money and help extend the life of your favorite footwear. In this article, Break Me In Daddy provides a detailed guide on how to repair your Dr. Martens, ensuring they look as good as new for years to come.
Feet in ridiculous pain and you're slowly loosing the will to live? Try Break Me In Daddy, the easiest way to break in your new Doc Martens without making your feet look like grated cheese. Lactose, cute toes. Find out more →
Have you ever faced the frustration of discovering a scuff or tear on your Dr. Martens? Don't worry; we've got you covered. In this comprehensive guide, we'll walk you through the process of repairing your cherished Dr. Martens step by step. From simple fixes to more complex repairs, you'll learn how to restore your shoes to their former glory.
Scuff and Scratch Repair:
One of the most common issues with well-loved Dr. Martens is scuffs and scratches. Fortunately, there are easy solutions to minimize their appearance. Start by cleaning the affected area with a damp cloth and mild soap. Then, apply a small amount of leather conditioner or shoe polish in a matching color. Gently rub it into the scuffed area, and voila! Your scuffs will be significantly diminished.
Sole Repair:
Over time, the soles of your Dr. Martens may become loose or worn out. To repair this, you'll need a strong adhesive designed for shoe repair. First, clean the sole and remove any debris or old adhesive. Apply the shoe repair adhesive to both the sole and the shoe itself, following the manufacturer's instructions. Press the sole firmly against the shoe, ensuring a secure bond. Allow the adhesive to dry completely before wearing your repaired shoes.
Lace Replacement:
If your Dr. Martens' laces are frayed or worn out, it's time for a replacement. Choose laces in a color and material that match your shoes. To remove the old laces, simply untie them and slide them out. Thread the new laces through the eyelets, ensuring they are evenly spaced. Tie your shoes up, and you're ready to go with fresh laces that will give your Dr. Martens a renewed look.
Dr Martens Shoe Repair Example:
Let's say you accidentally scuffed your Dr. Martens while climbing a fence. No need to panic! Start by cleaning the scuffed area and assessing the damage. If it's a surface-level scuff, follow the steps mentioned earlier for scuff and scratch repair. However, if the scuff has damaged the leather deeper, you may need to consider using a leather filler or taking your shoes to a professional cobbler for more extensive restoration.
Now that you have learned how to repair your Dr. Martens, you can enjoy wearing them with confidence, knowing that you can easily handle any issues that may arise. Remember, regular maintenance and repairs are essential for preserving the longevity of your beloved shoes. Share this article with fellow Dr. Martens enthusiasts, and be sure to explore other guides on the Break Me In Daddy blog for more tips, techniques, and inspiration to style your Dr. Martens shoes, boots, and sandals.


